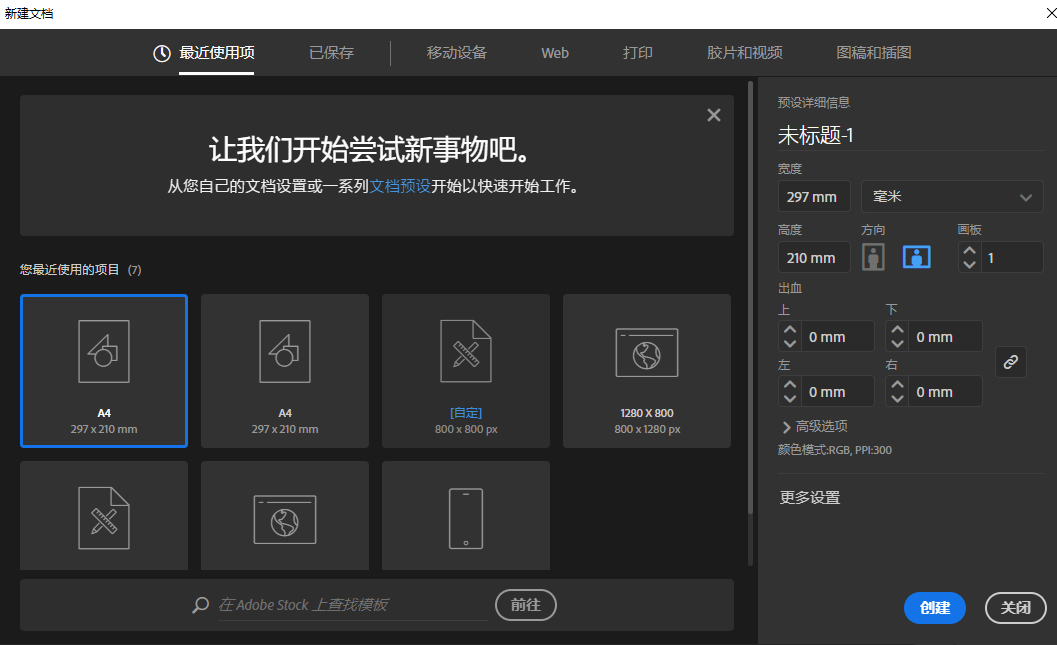
1、新建横向A4文档
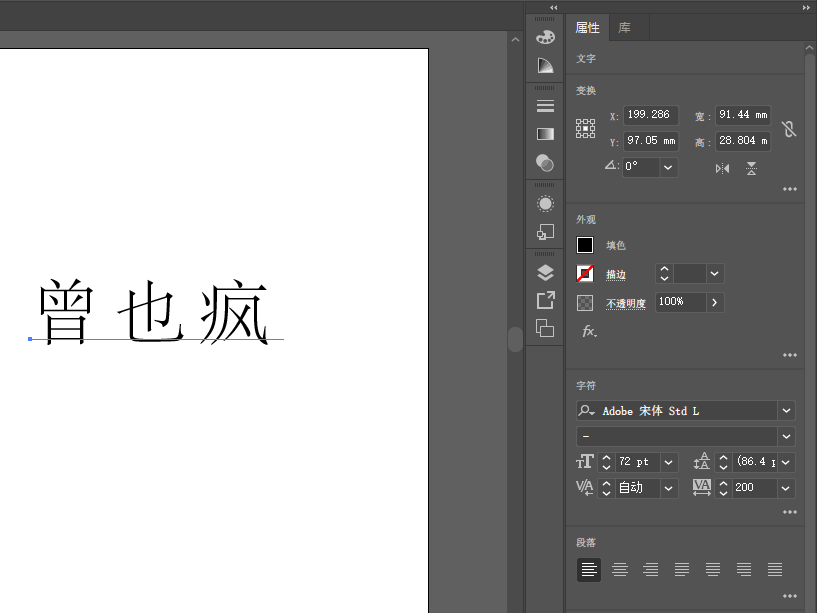
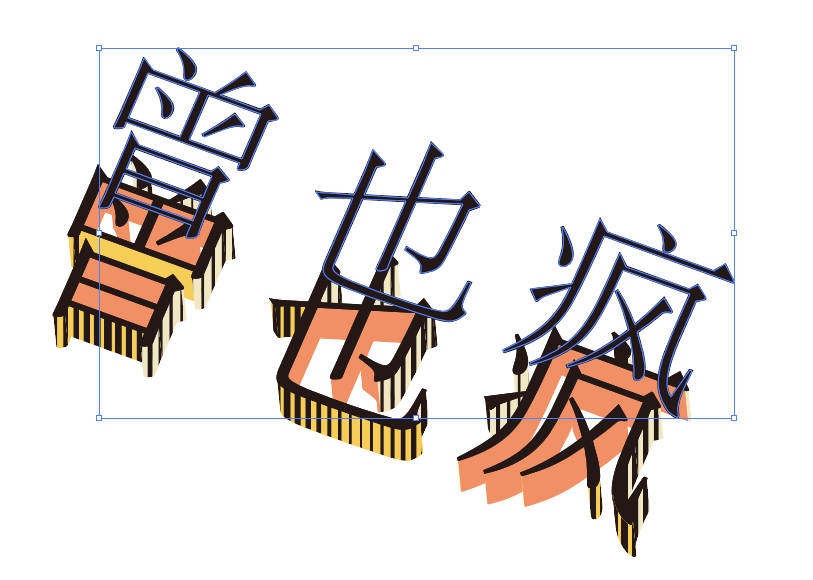
2、使用【文字工具】输入文字,并在【属性】面板设置字体系列、大小、颜色
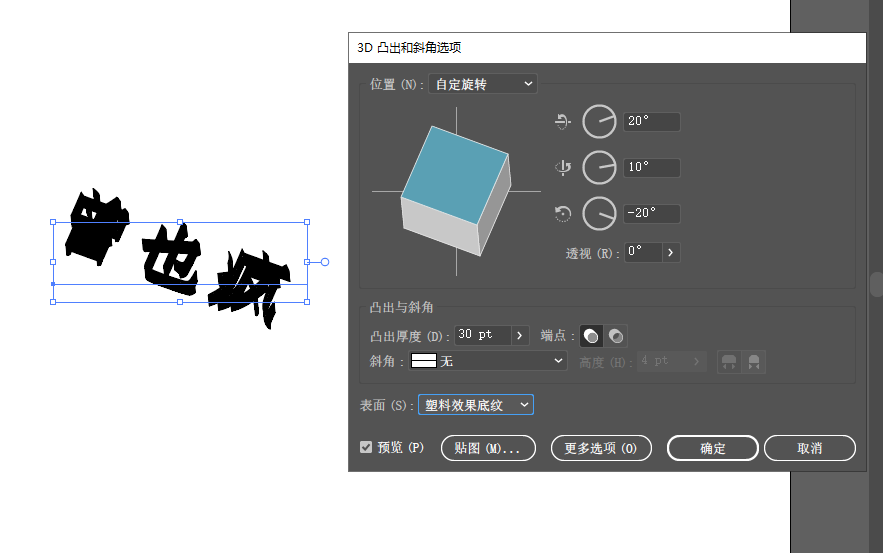
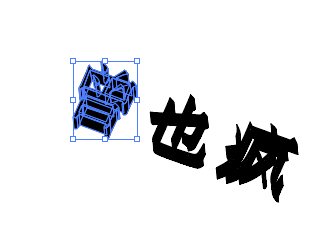
3、点击【效果】→【3D】→【凸出和斜角】选项,打开对话框
4、单击【对象】→【扩展外观】选项,将其转换为普通对象并自动编组
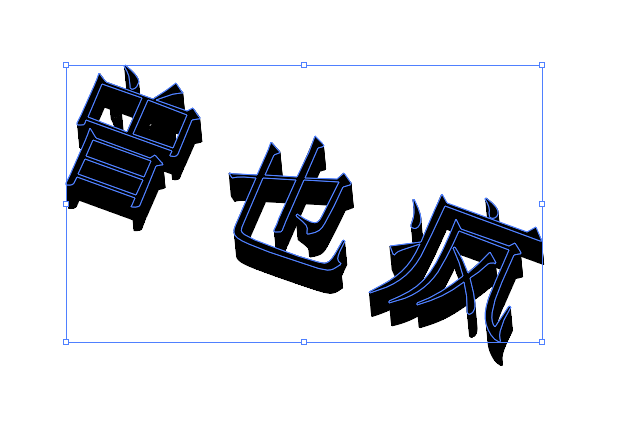
5、右击鼠标,在弹出的快捷菜单中选择【取消编组】选项
然后再分别选择单独元素(单独一个字)并右击鼠标,在弹出的快捷菜单中选择【取消编组】选项
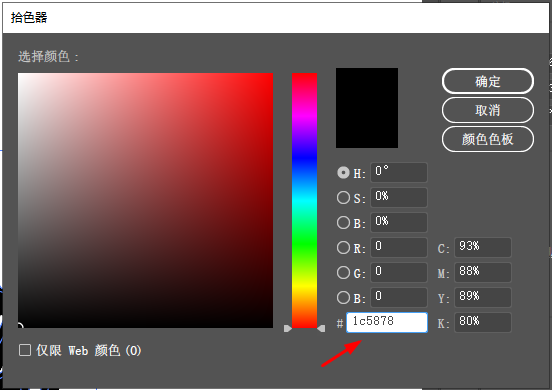
6、按住Shift键选择表面对象
双击工具栏【填色】图标,打开【拾色器】对话框,设置填充颜色

7、使用同样的方法为其他表面设置填充颜色

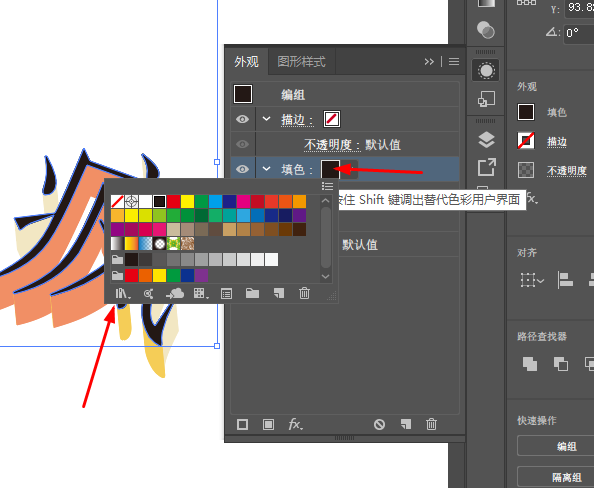
8、选择表面,点击【窗口】→【外观】选项,打开【外观】面板

单击【添加新填充】按钮,添加新填充
单击【颜色】按钮,打开【色板】面板
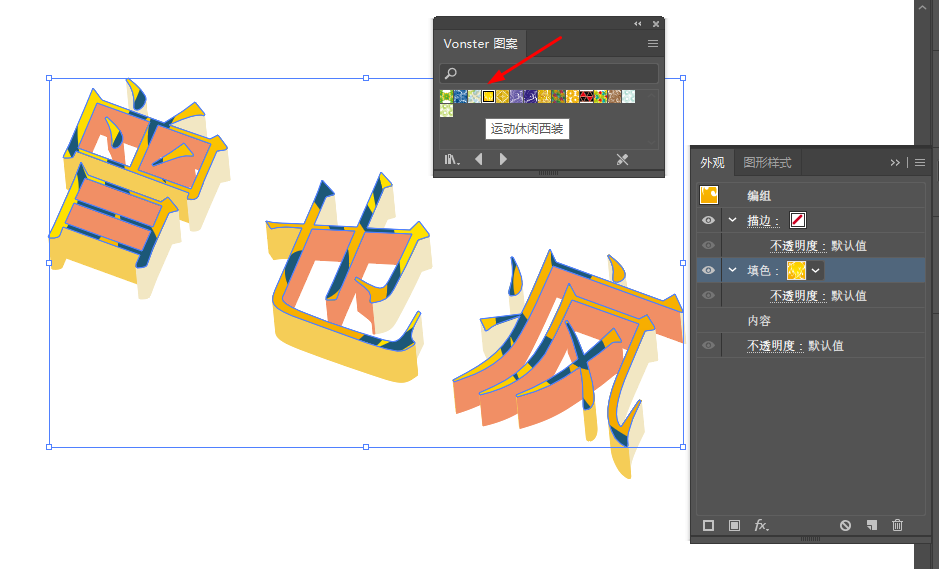
单击【“色板库”菜单】按钮,在弹出的下拉菜单中选择【图案】→【装饰】→【Vonster图案】选项,打开面板,设置【填色】
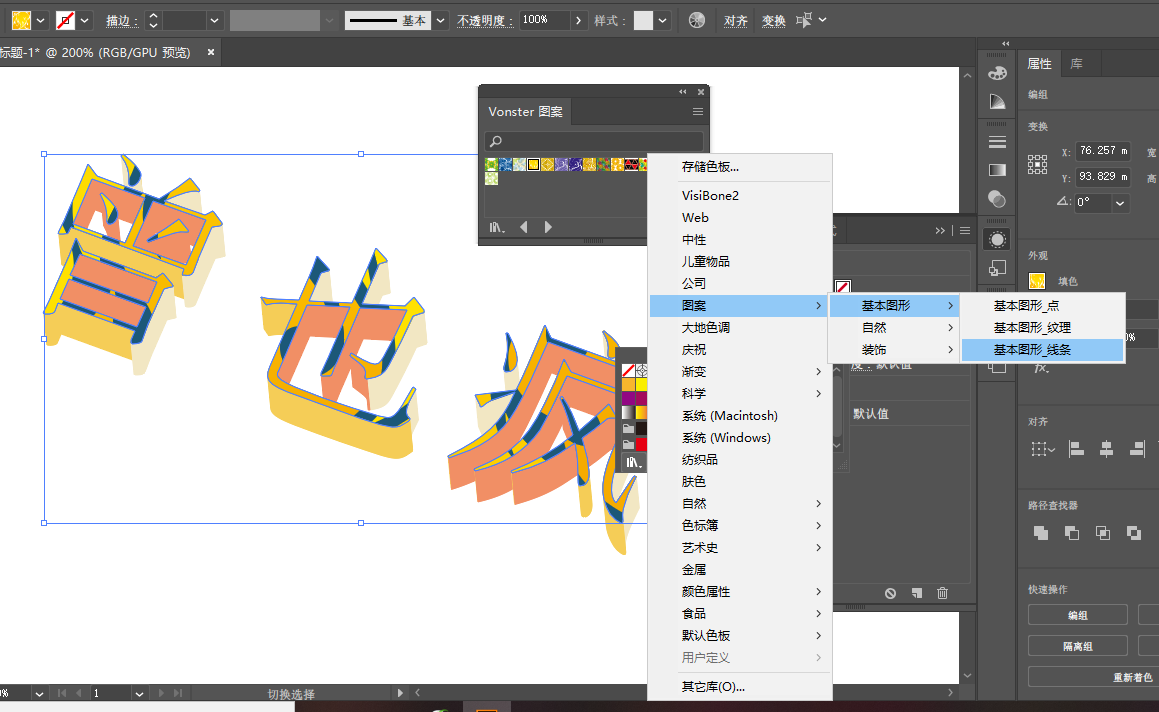
9、单击【颜色】按钮,打开【色板】面板
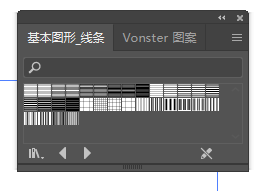
单击【“色板库”菜单】按钮,在弹出的下拉菜单中选择【图案】→【基本图形】→【线条】选项,打开面板
10、选择一个表面,单击【添加新填充】按钮,添加新填充,设置填充为
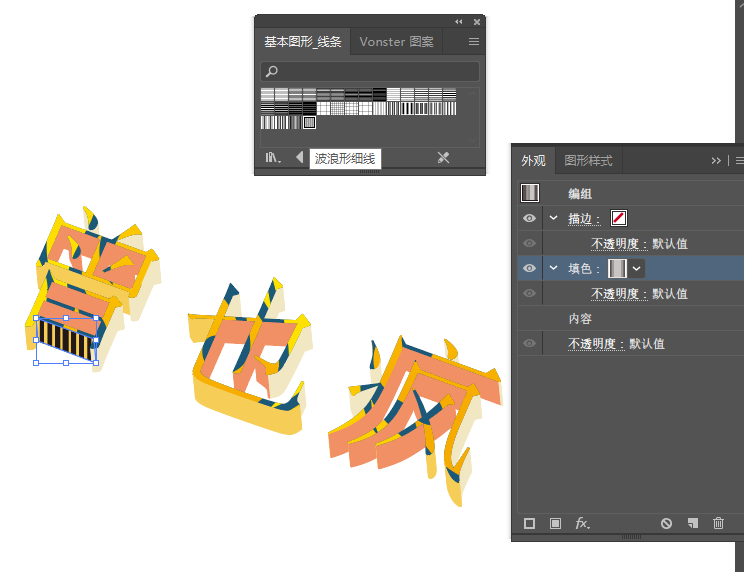
使用相同的方法,为其他表面设置填色
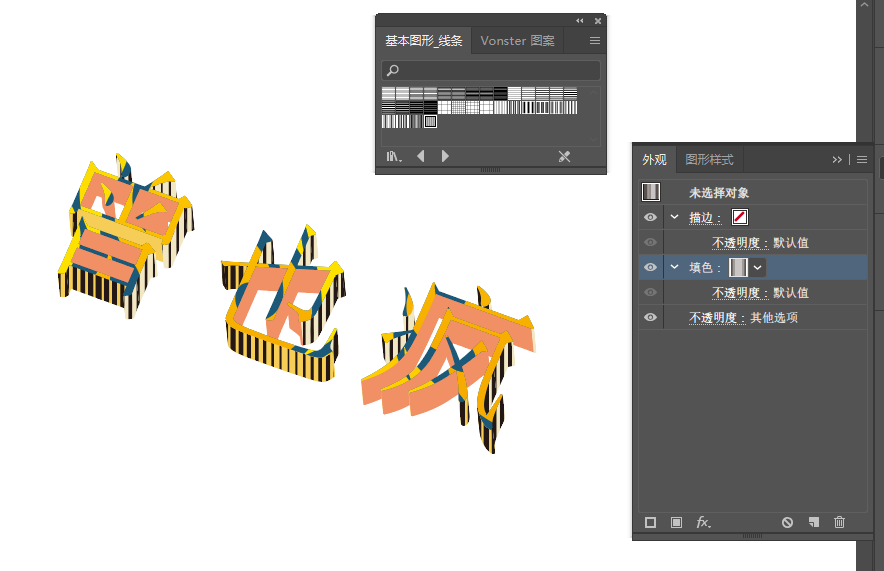
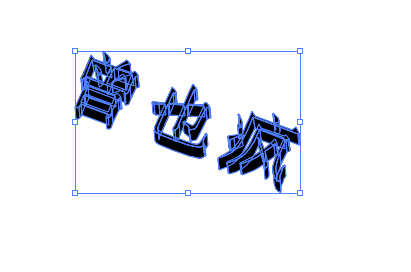
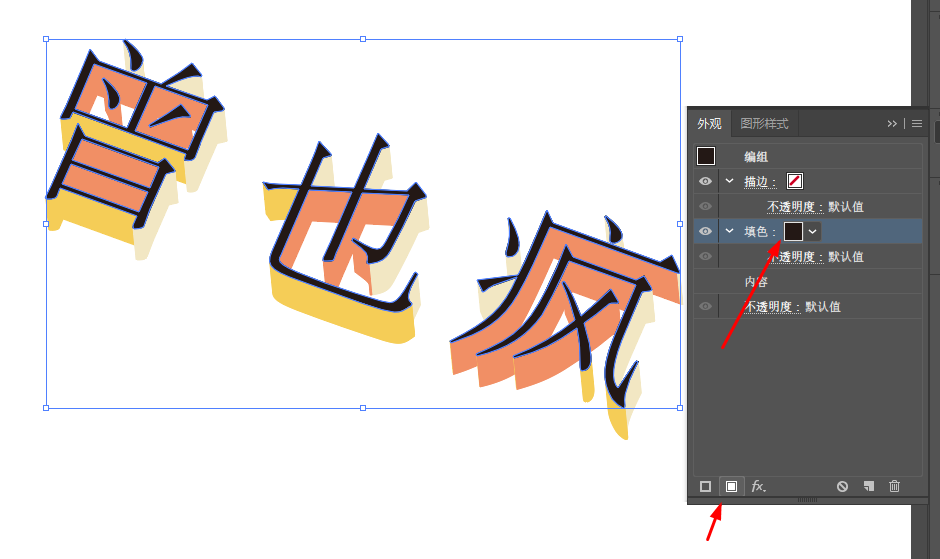
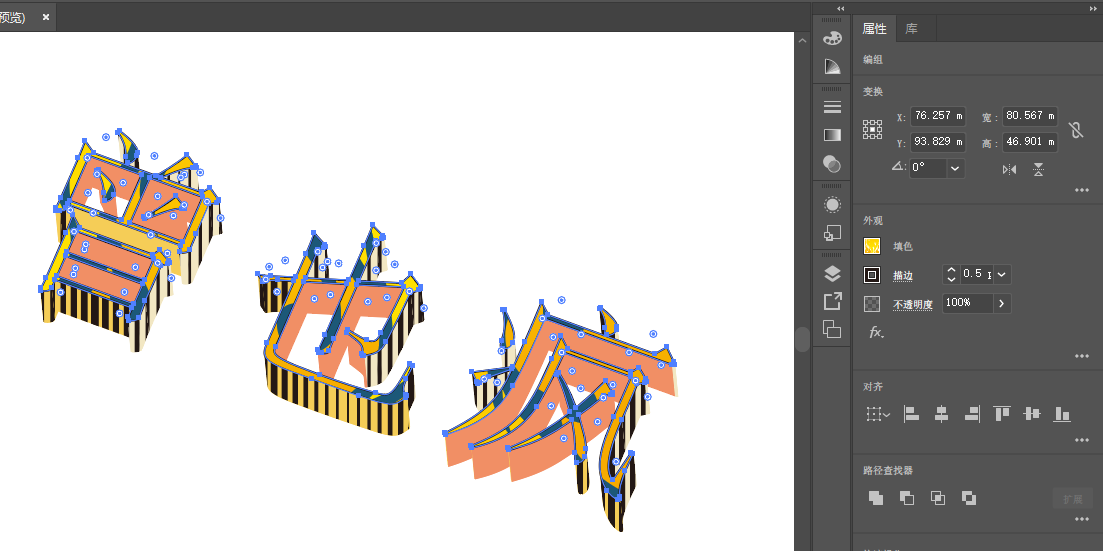
11、选择表面对象,在【属性】面板中设置描边颜色、粗细
12、选择文字表面,按Ctrl+C复制,再按Ctrl+F粘贴到前面,并按Ctrl+G编组,填充黑色

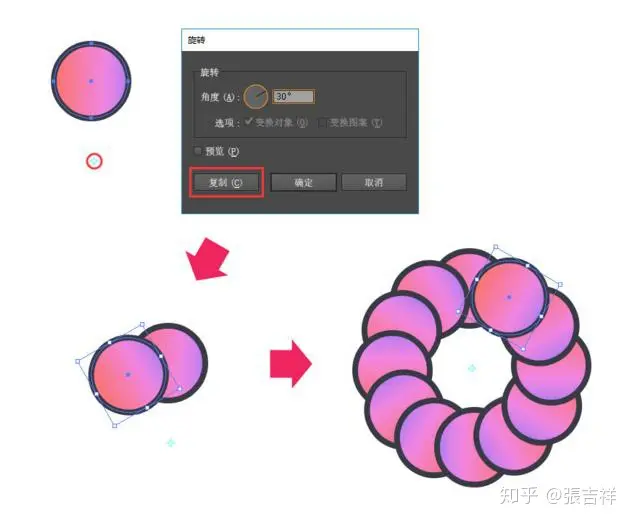
13、按住Alt键移动复制编组对象
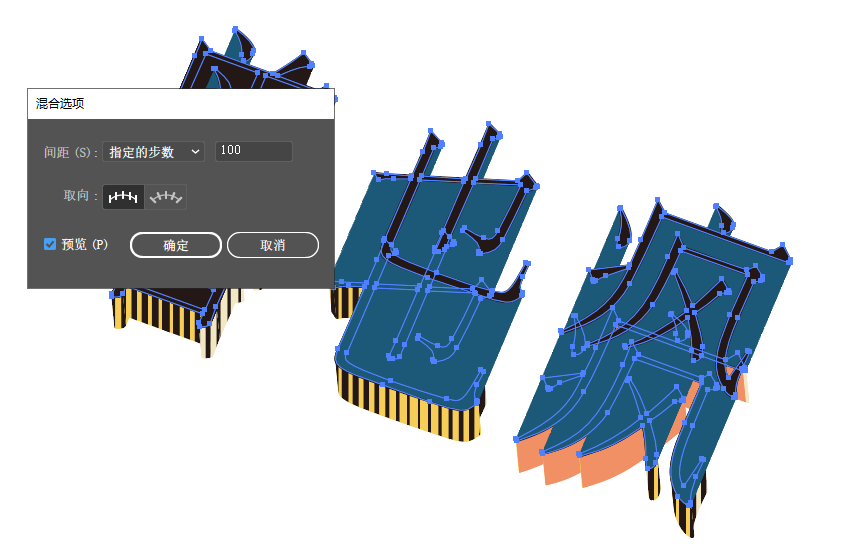
14、按住Shift键加选下方的黑色编组对象,点击【对象】→【混合】→【建立】选项,创建混合对象
然后双击工具栏中的【混合工具】按钮,打开对话框设置
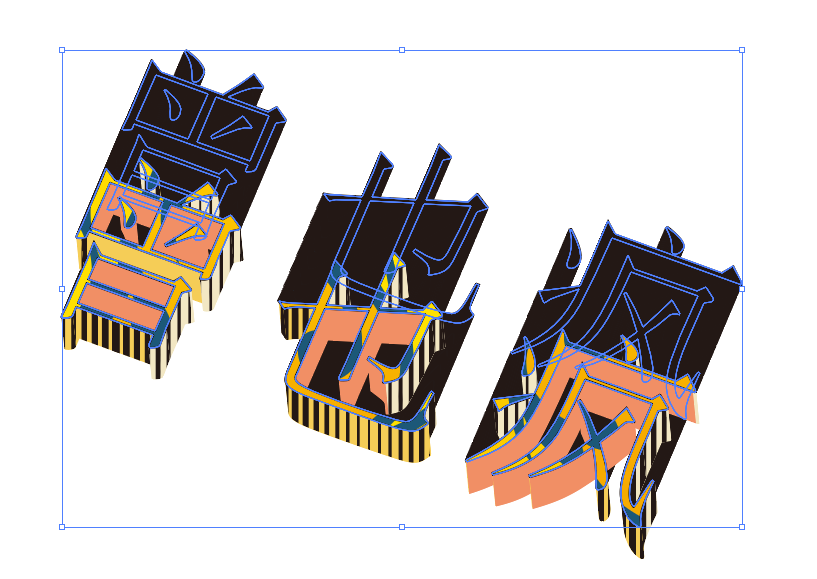
15、点击【对象】→【扩展外观】选项,扩展外观
然后单击工具栏底部的【填色】按钮,设置纯黑色

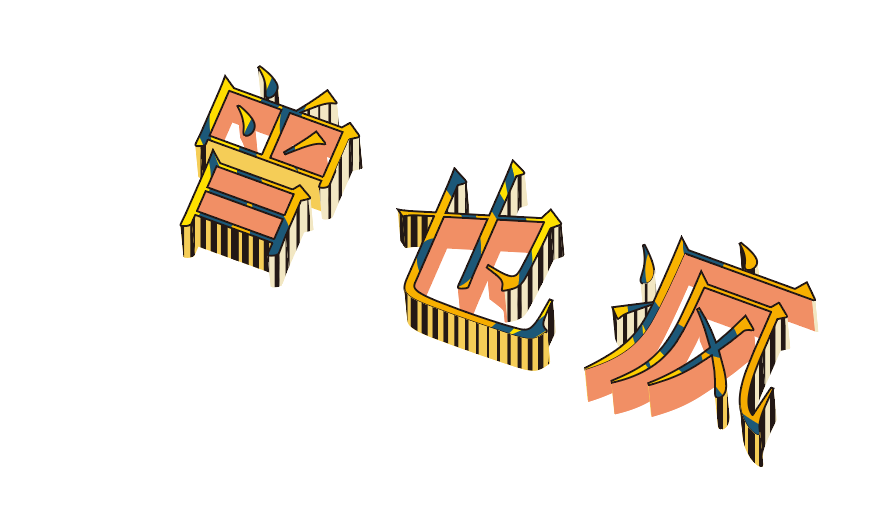
16、右击鼠标,在弹出的快捷菜单中选择【排列】→【置于底层】选项
17、使用【矩形工具】绘制一个大的矩形对象,并填充为浅蓝色,并置于底层
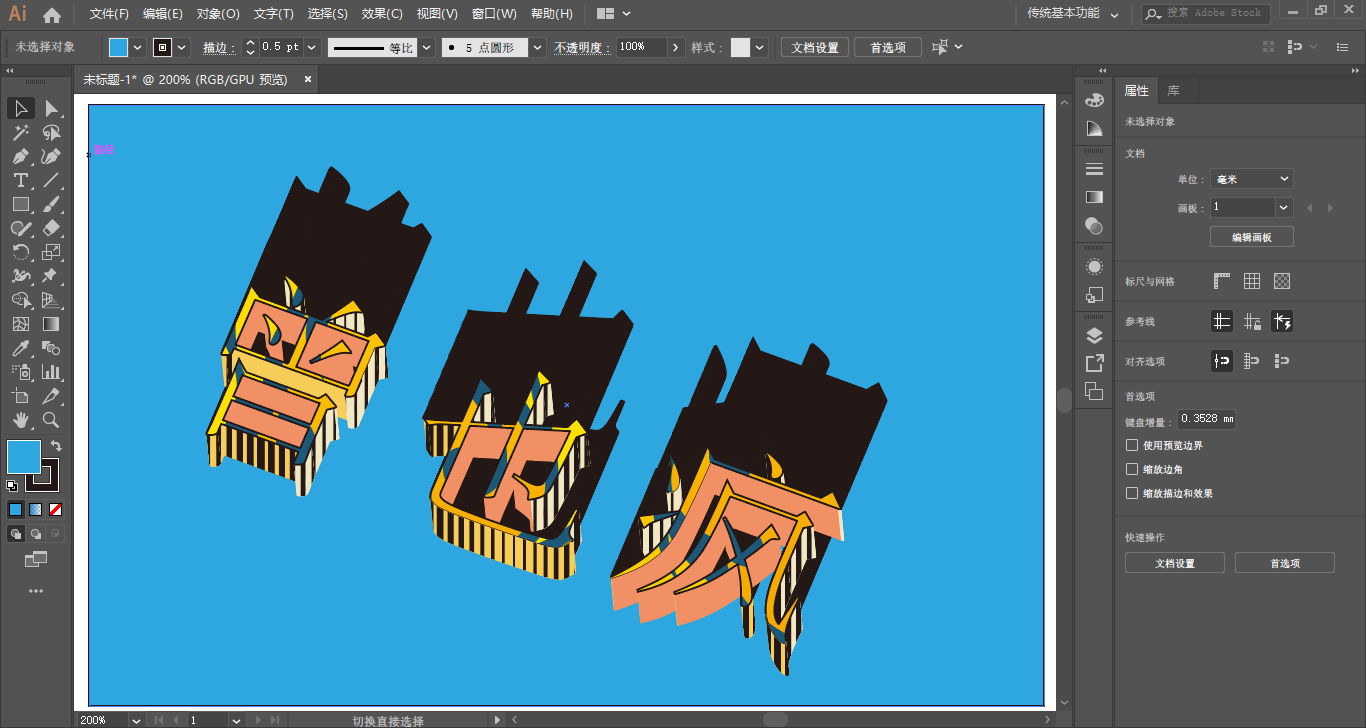
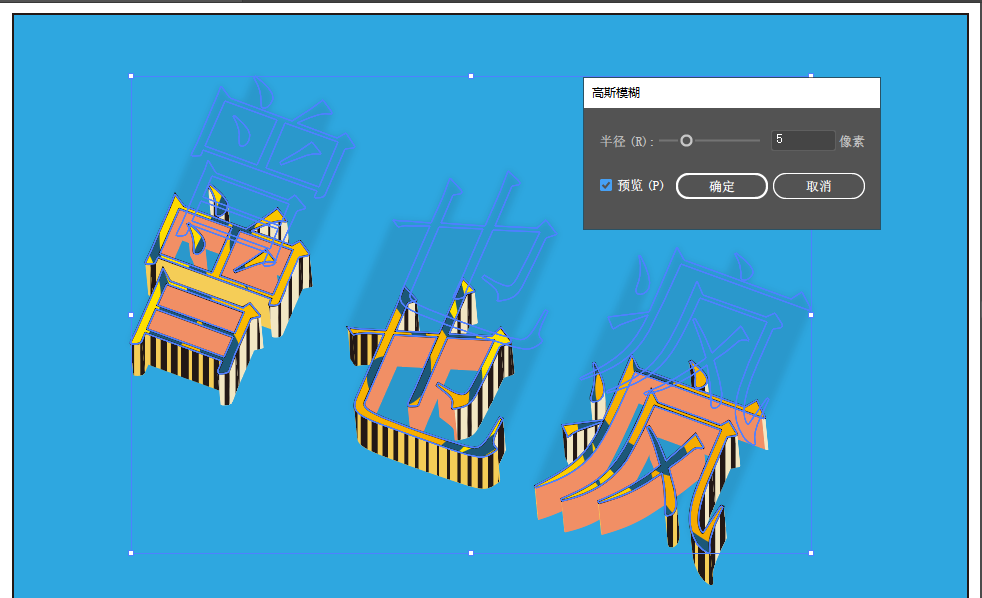
18、选择阴影对象,单击【外观】面板中的【不透明度】,打开【透明度】面板设置

19、点击【效果】→【模糊】→【高斯模糊】选项,打开对话框设置